
In this article, we are going to see how to Install Oracle database 11g R2 Enterprise Edition – 64 bit. Installation guide can be handy especially if you are new to a particular platform or software. Therefore, in this blog, I will be providing you the detailed stepwise procedure for installing Oracle 11g R2 Enterprise Edition in PC with windows.
Please follow the below steps to install the Oracle 11g R2
Step 1:
Download the file using the below link
To download Oracle 11g R2 64 bit file click here.
To install Oracle 11g R2 32 bit, please click here to follow the steps
To visit our channel for Installation, click here
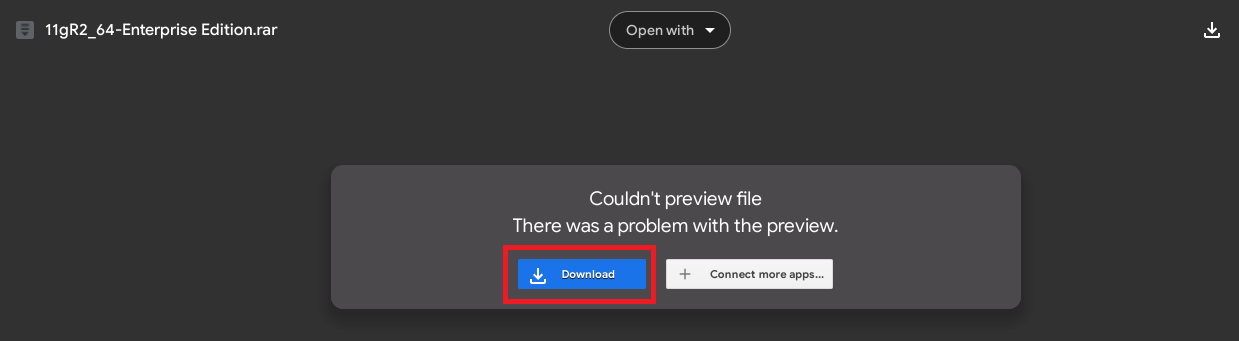
Next click Download button to download the file as shown below.
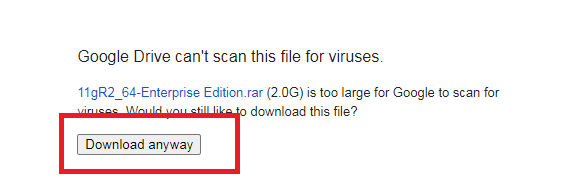
Then, click download anyway (see below) to download the file.
Step 2:
After downloading the file, create a new folder and paste the file you have downloaded to that folder
Step 3:
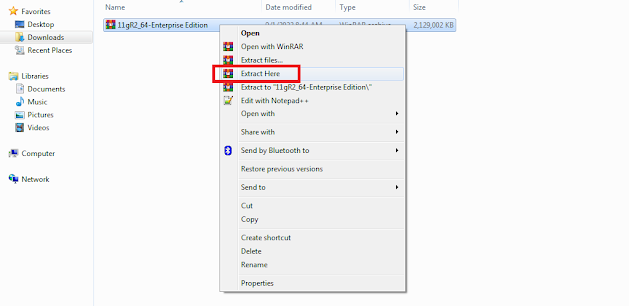
You are now required to extract the file present in the zip file. So, in order to unzip the file, right-click the zipped file and click on ’Extract Here’ options as shown in the image below.
Step 4:
After that, you can view the contents present in the zip file as shown in the image below.

Step 5:
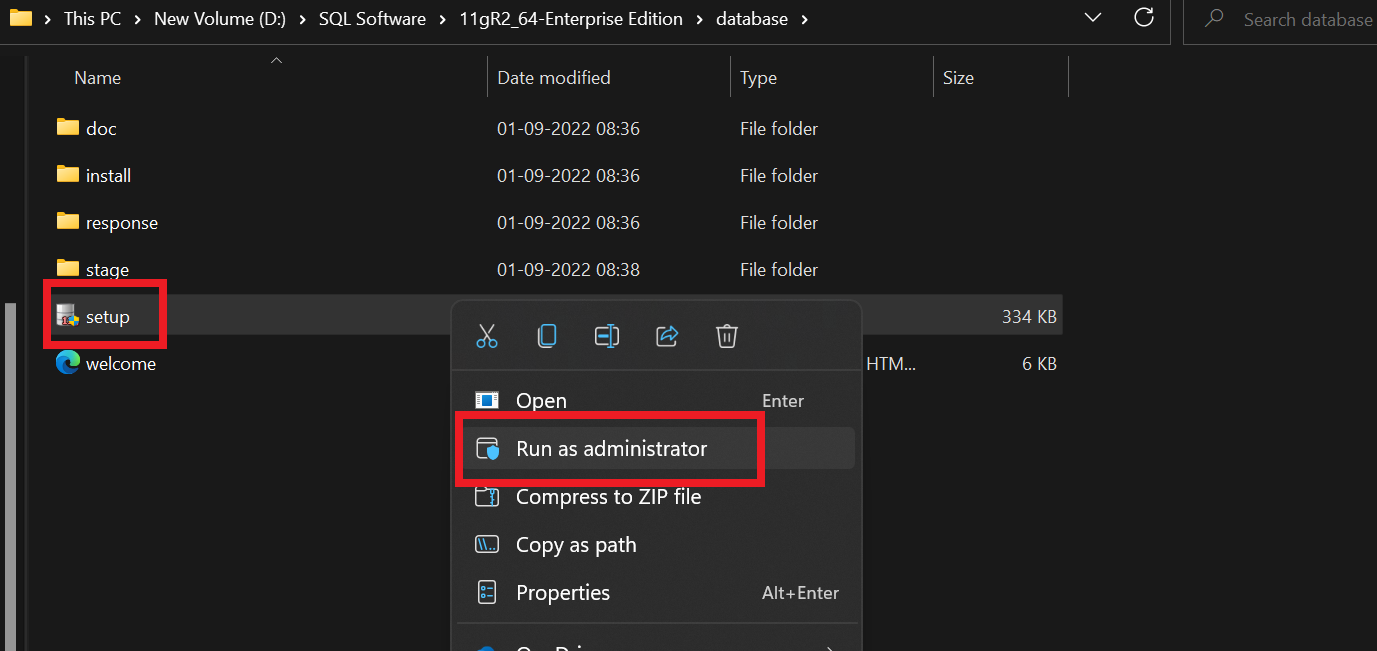
Now, go inside the folder name “11gR2_64-Enterprise Edition” and open “database” folder. Then, execute the ‘setup’ file by right click on the setup and click “Run as administrator” as shown in the image below.
Note: After you execute the setup file. A window appears as shown in the image below.

Installation process starts
Step 6:
If you have an Oracle Support account, fill in the appropriate data and click the Next button.
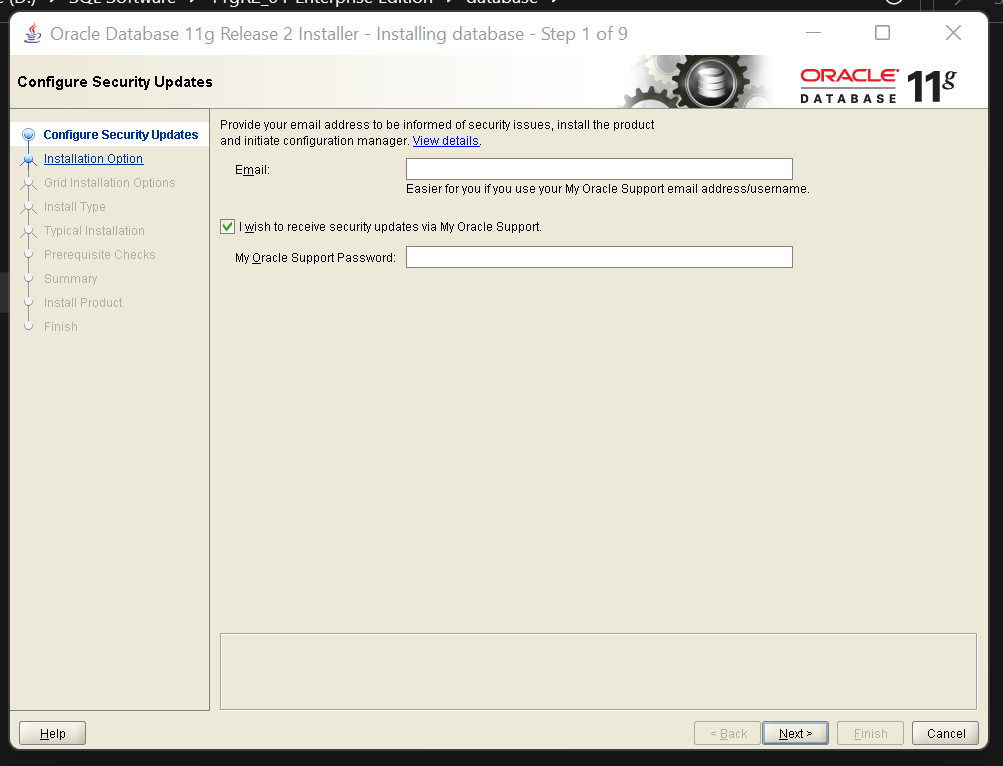
If you do not have support account, uncheck the box and leave the fields blank and then click the Next button (shown below).

Step 7:
You will receive a popup, If you don’t provide email, don’t worry… click Yes to continue (see below).

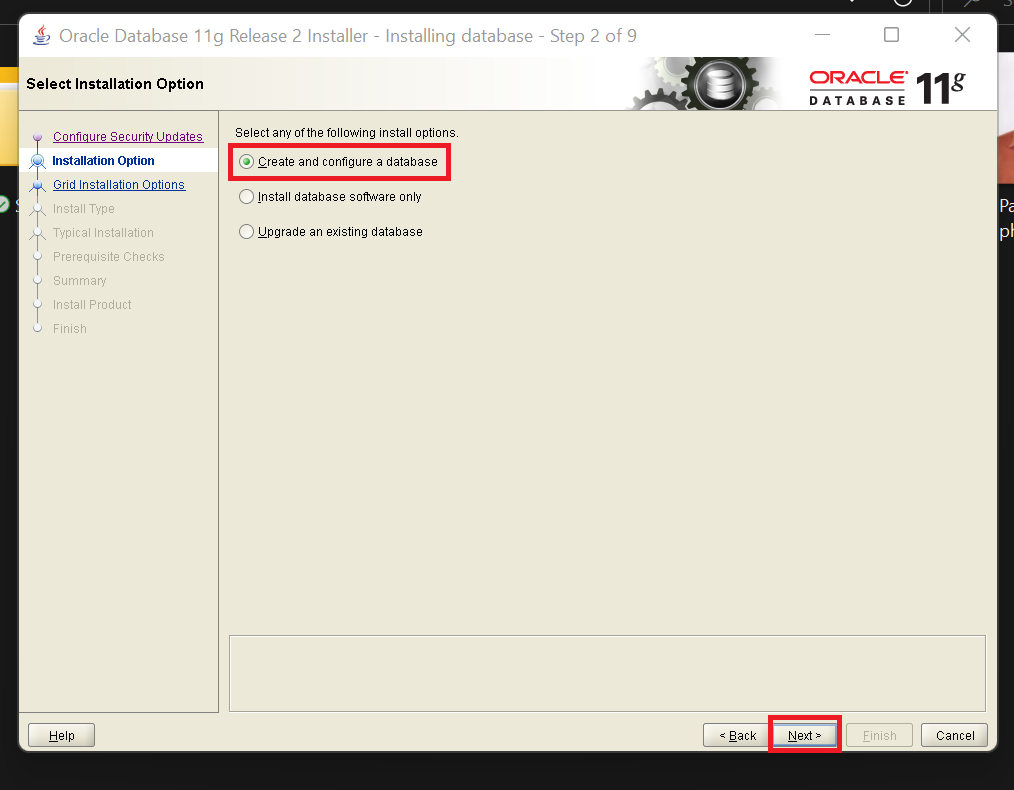
Step 8:
In the next wizard you have three option to select, choose the appropriate button and click the Next button to continue (see below). In this case I want to create and install a database
1. Create and Configure a Database :-
If you want to create and install a database then choose this option
2. Install database software only :-
To install only database software then choose this option
3. Upgrade an existing database :-
If you need to upgrade an existing database then choose this option.
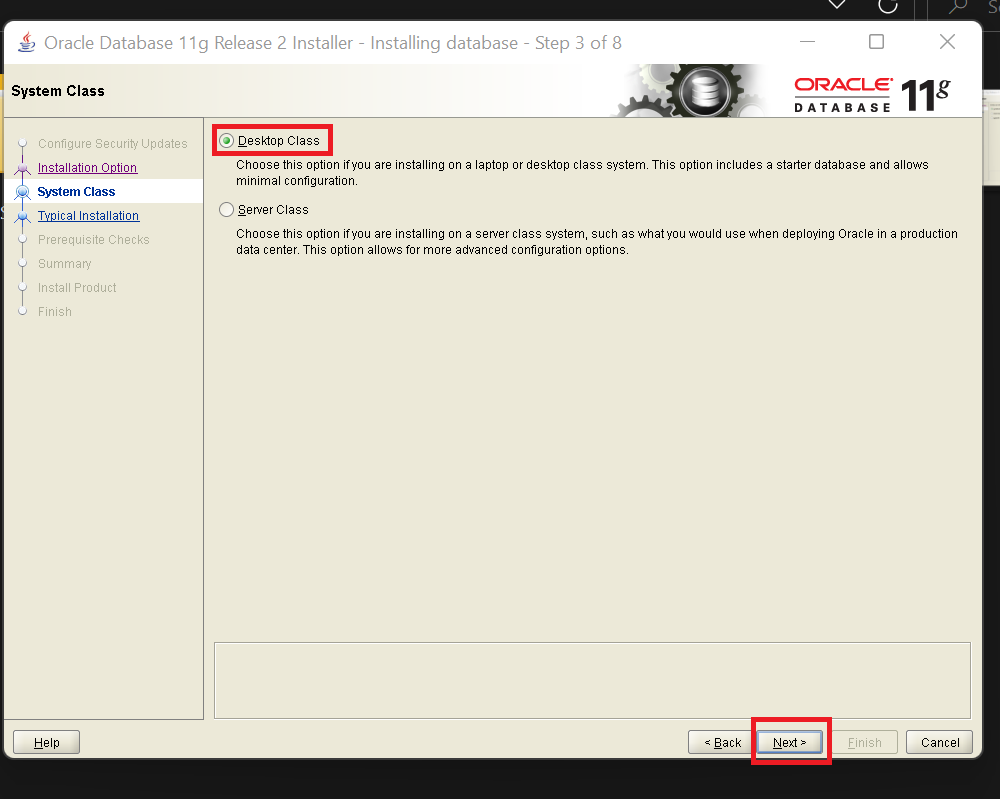
Step 9:
In the next wizard you have two option to select, choose theappropriate button and click the Next button to continue (see below). In this case I want to install it on a laptop, so I’m selecting Desktop class
1. Desktop Class
If you are installing this software on a laptop or desktop, select this option
2. Server Class
If you want to installing this software on server machine, select this option
The next wizard will appear as shown below
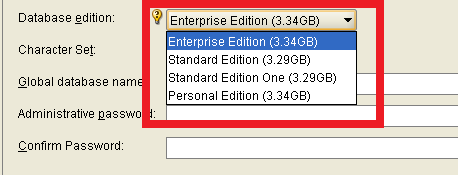
Step 10:
If you want to change the database edition select the appropriate one as shown below
Step 11:
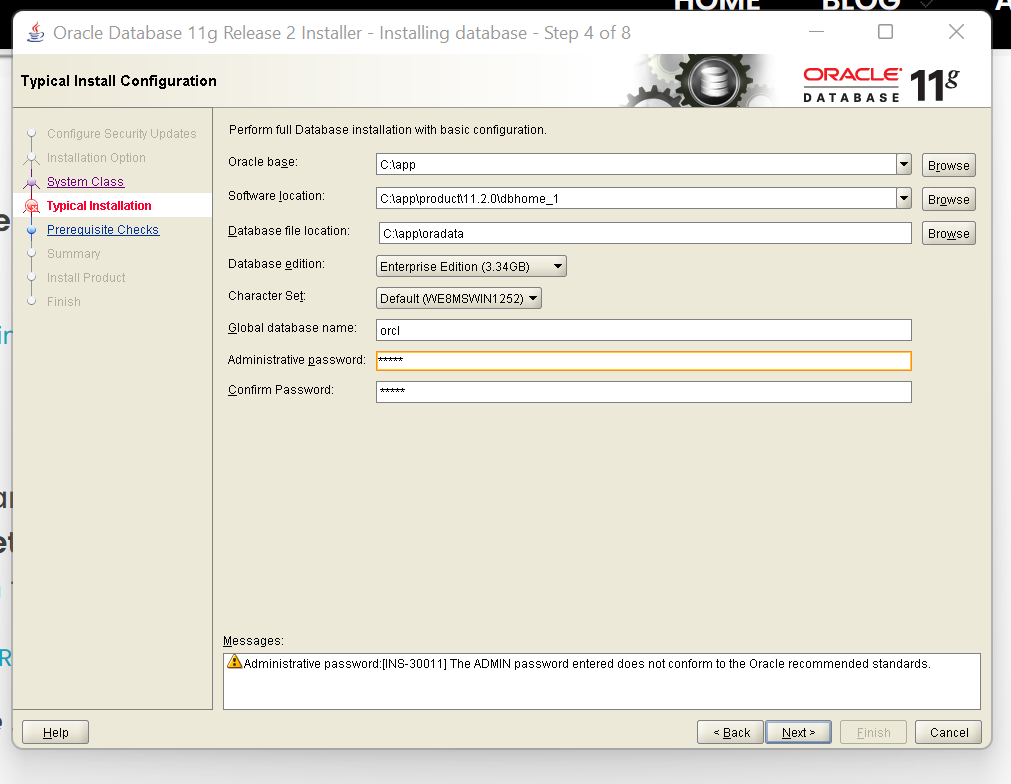
Then provide the Admin password as shown below and click the Next button to continue
Note 1: Oracle recommends that the password entered should be at least string characters in length, contain at least 1 uppercase character, 1 lowercase character and 1 digit [0-9].
Note 2: Please remember this password to login sys/system user
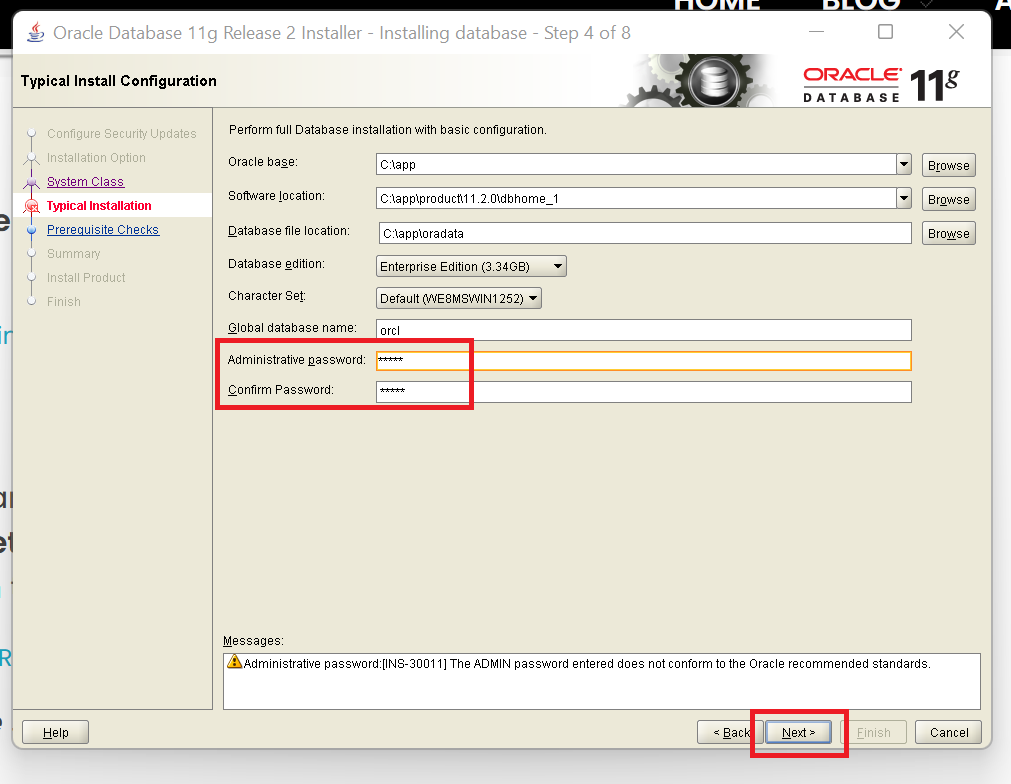
Step 12:
If the provided Admin password is not under the oracle standards then below popup occurs. Don’t worry this a warning only not an error, to continue click Yes (shown below)

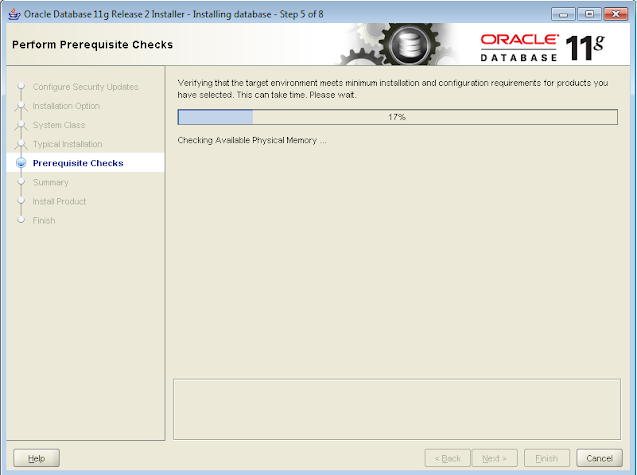
Step 13:
In the next wizard the prerequisite checks starts for the installation, please wait till it complete
Step 14:
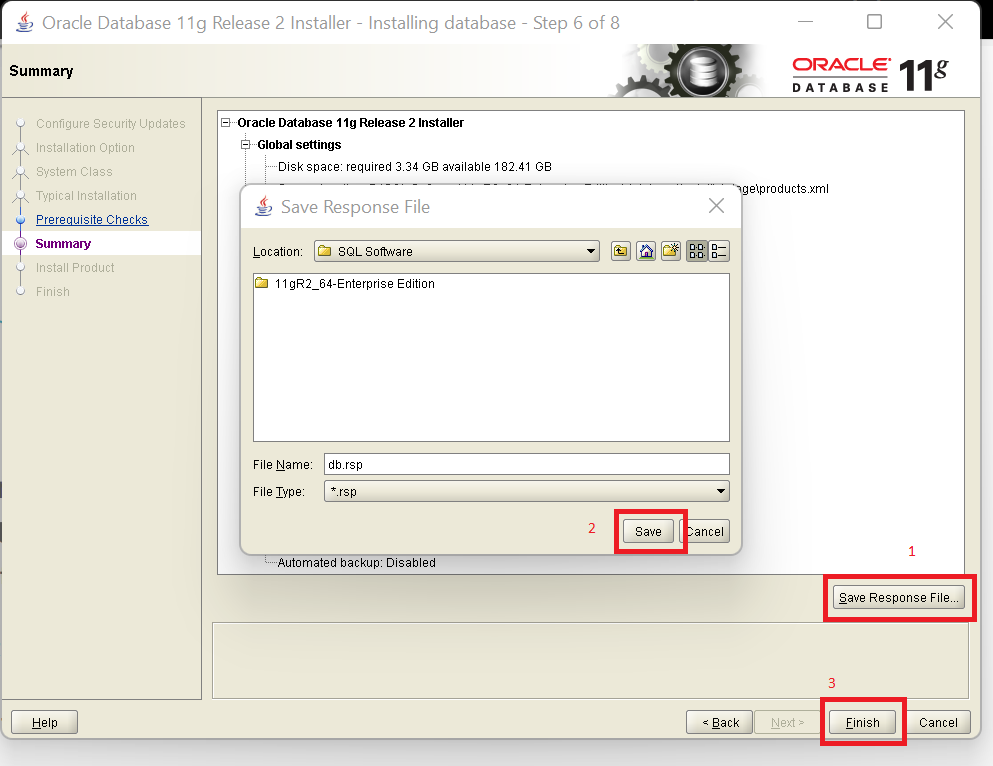
In the next wizard copy the SID for further reference (see below) and click Finish to start the installation

If you want to save these details click Save Response File and select the location to save the file and then click save (see below) then click Finish to start the installation
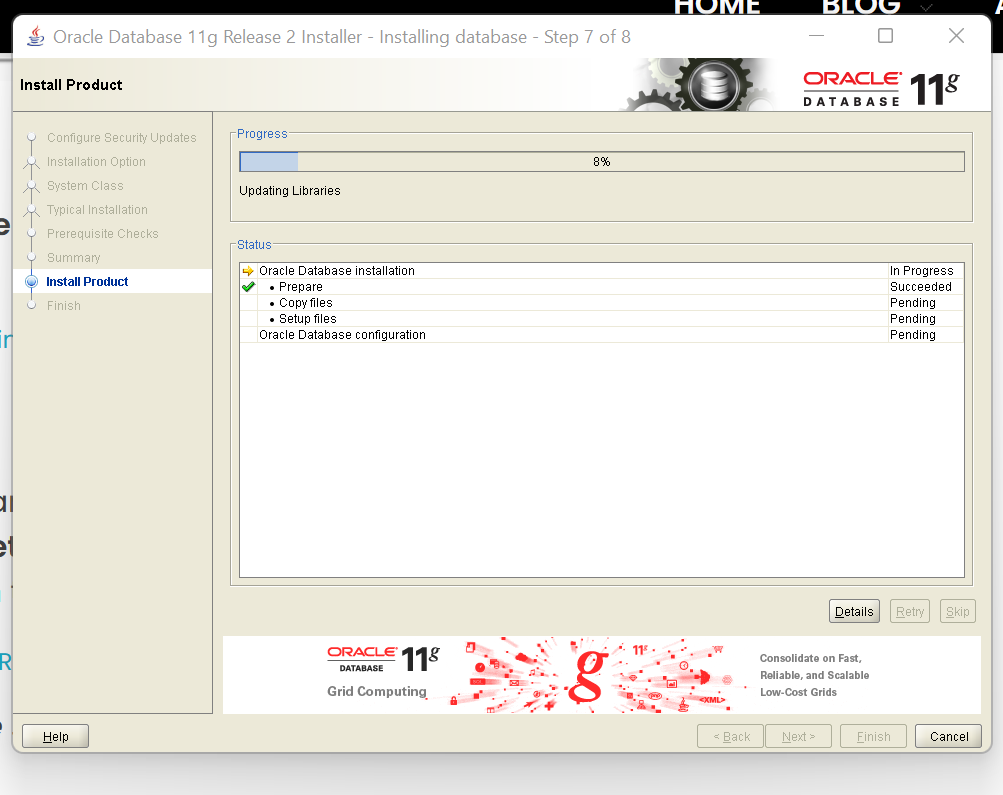
Step 15:
The installation wizard will appear as shown
Note: If you receive errors in copying the files, the safest way to recover is to exit out of the installer, then remove all of the files from the install directories (c:appLearncode in this case). You may need to stop the OracleMTSRecoveryService before removing some files).
Second Note: If there are errors moving or copying files such as orandce11.dll.dbl just click the Continue button. These are non-critical files that should not affect the Oracle functionality.
Step 16:
If Windows shows a warning of blocking the activity of Oracle, you click on “Allow access” for allowing Oracle to work

Step 17:
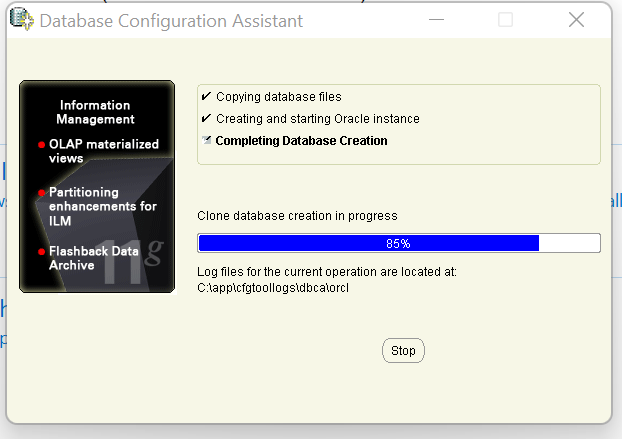
Once all of the files are copied and installed, the Database Configuration Assistant will launch. Generally there is not much you need to do at this point except allow the Assistant to finish.
Step 18:
Once the new database is configured, the summary screen will appear as shown below. Click on the “Password Management” button to unlock some of the accounts.
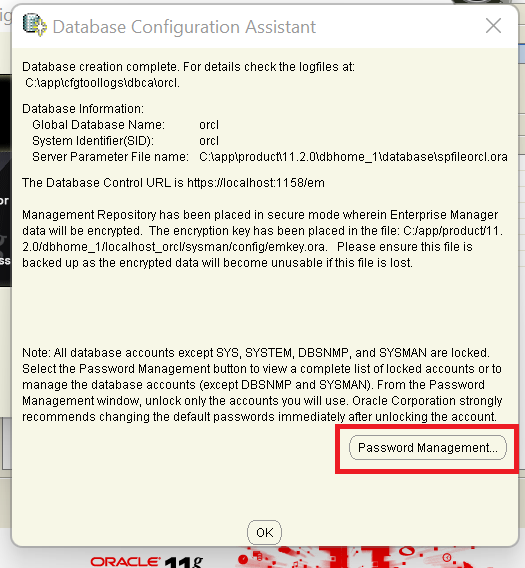
To unlock an account, click on the check mark, then supply passwords for each of the unlocked accounts. Click the OK button when done.
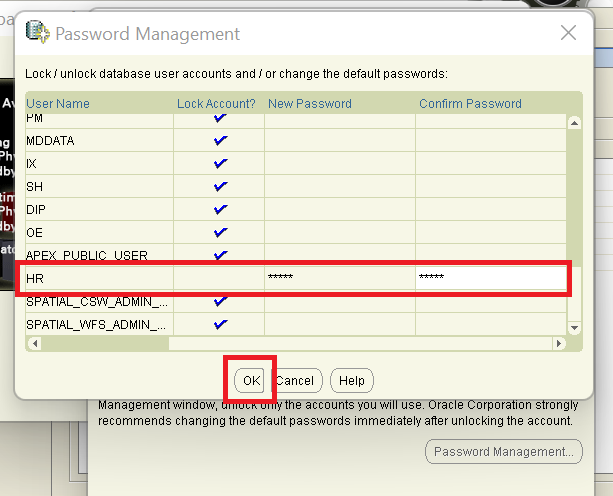
Note: If you have forgot to unlock the user, don’t worry just follow the step 20 after the installation is complete
Step 19:
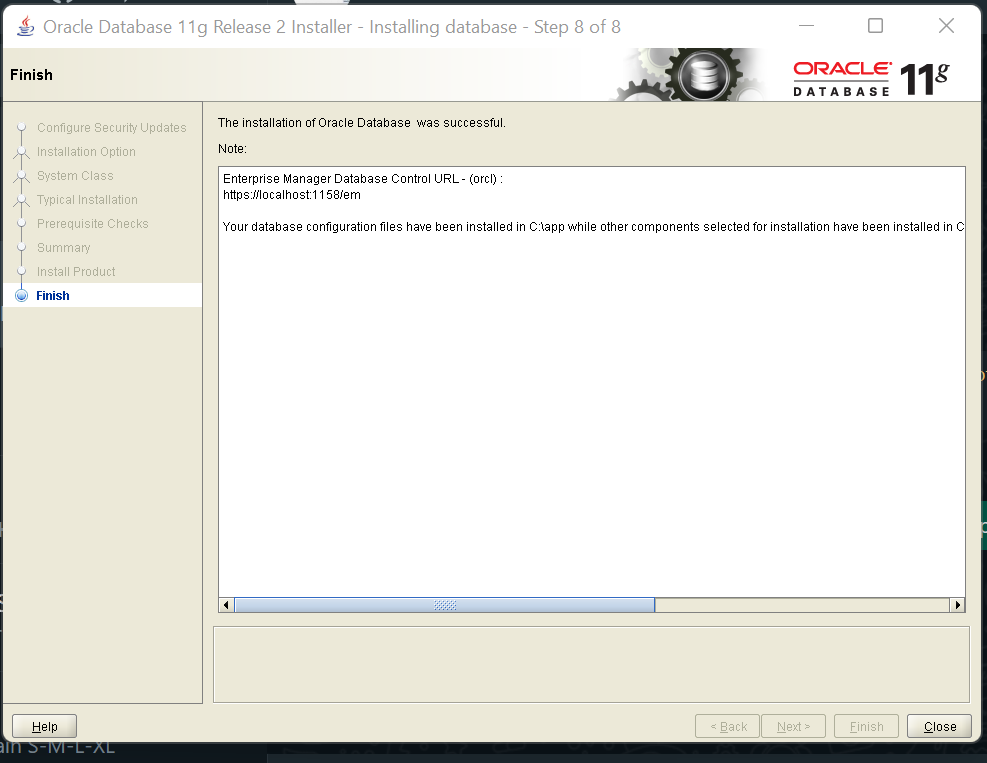
The final confirmation screen shows the URL on your local PC for accessing the Oracle Enterprise Manager system.
Step 20:
Press windows key + R, then type cmd and press enter. (see below)

Then in the command prompt type sqlplus hr/admin and click enter. If HR account is locked you will receive an error. And then close this window

Then again open the command prompt and type sqlplus system/admin and press enter to connect to the system user.
Note: Here system/admin …..
system —> user name
admin –> password (ie. type the password you have given in step 11)

Then we need to unlock the HR user, to do so we need to alter the user account. Type Alter user HR account unlock and press enter.
Then we to provide the password for the HR user, to add password typeAlter user HR identified by admin and press enter
Note: Here admin is the password for the HR user, you can provide any password you want.

Then connect to HR schema/user to see if it works. Type sqlplus hr/admin then press enter
Note: Here hr/admin …..
hr—> user name
admin –> password provided in the above step
Then type the below query and press enter.
select count(*) from employees;

To download the Oracle 11gR2 64 bit file click here.
I believe this Oracle 11gR2 post will helpful for you. If you like this post then share your view in the comment box.
To install SQL Developer click here
Add a Comment